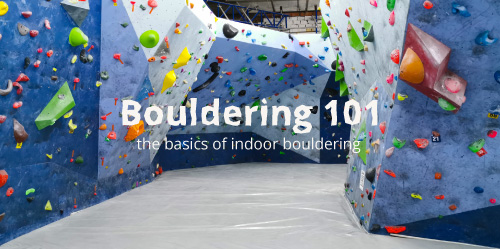
Are you getting ready for your first time indoor bouldering? Maybe you’ve been a couple of times and are in need of some beginner tips? You came to the right place!
This article covers the basics of indoor bouldering. You’ll learn everything you need to know to get started, how to prepare for your first visit to an indoor gym as well as some beginner tips and bouldering lingo.
Grab a cup of coffee and let’s get started.
📚 This post is part of our Bouldering Beginners Guide
What is Indoor Bouldering?
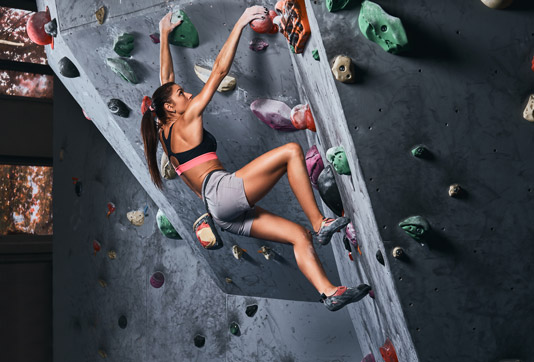
Indoor Bouldering is a style of gym climbing where no safety equipment is used. Climbers ascent a ‘boulder problem’ using only their hands, feet, some chalk, and the mats underneath them. The climbing routes are referred to as ‘boulder problems’ as they are often not straightforward and require a specific solution or ‘beta’ to solve.
Due to its nature of low walls and mats, indoor bouldering can be practiced alone, and thus has become the most accessible form of climbing. Not to mention how much cheaper it is than other forms of rock climbing.
Indoor bouldering has basically become a sport of its own. Many gym boulderers never or rarely venture outdoors. Originally though, bouldering gyms were used as training grounds for the outdoors.
First Time Bouldering: The Basics
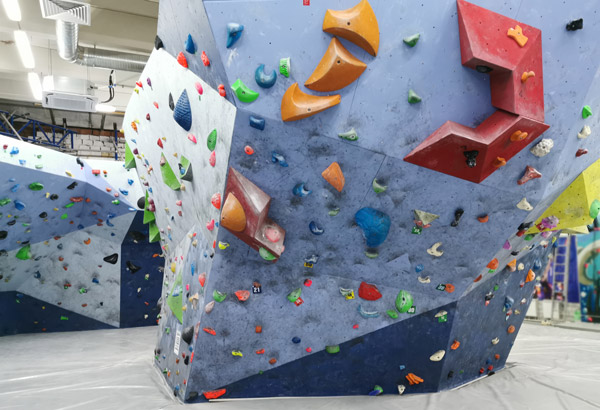
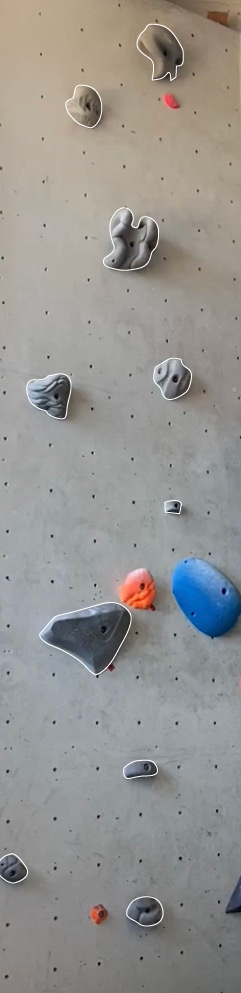
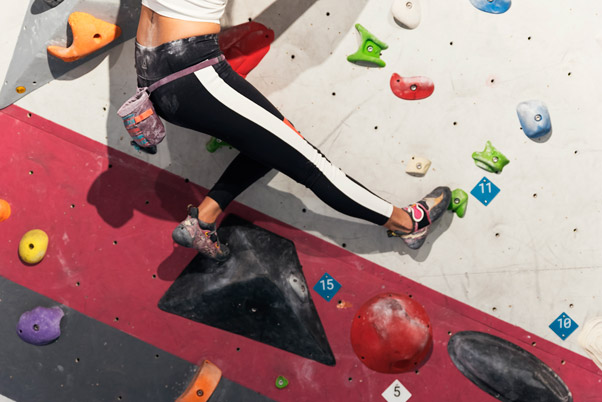
Most indoor bouldering walls are between 4 and 5 meters (15 feet) tall. Bouldering walls come in many different shapes. You have vertical walls, overhangs and slabs. The walls are scattered with differently colored hand and footholds, these are called boulder problems.
How to Identify a Boulder Problem
A boulder problem is made up of hand and footholds in a single color scheme. Some gyms use a single color scheme for each individual grade, while other gyms use random colors and assign a grade to the start hold.
If your gym has a single color scheme, you should be able to find a sign that identifies the different bouldering grades. If they use random colors, you’ll have to look for grading labels on the wall.
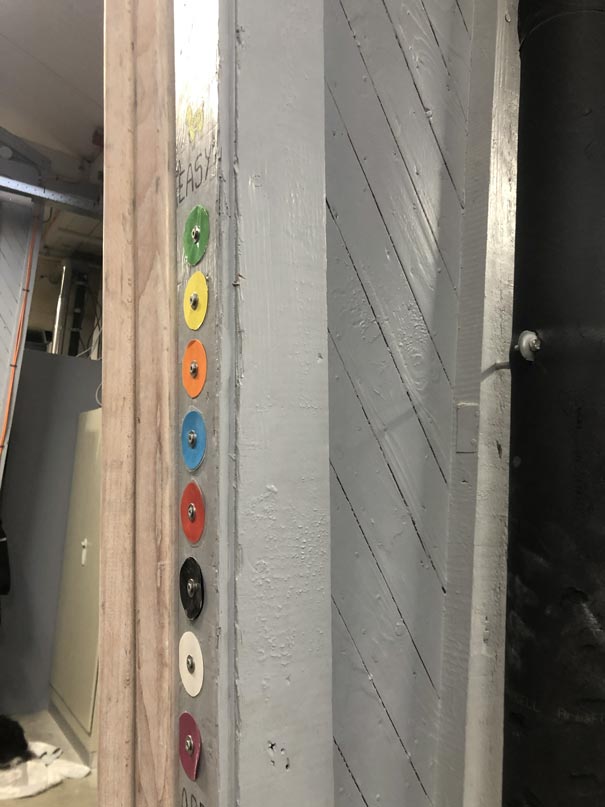
Beginner bouldering grades often have a straight-forward, vertical pathway to the top. The handholds are always nice and even the footholds are big and easy to stand on.
As you progress to the intermediate grades, boulder problems will become less simple and will require some problem-solving skills to complete successfully. Moreover, the holds will be significantly more challenging. The large, easy footholds will be substituted with small, difficult-to-grip ones known as “nipples,” while handholds will either be tiny enough to require only your fingertips (crimps) or large and slippery (slopers).
How to Start and Finish a Boulder Problem
Inside boulder gyms, you have to start at the marked handhold (and sometimes foothold) and finish by touching the final hold with both hands in a controlled position.
The start of the boulder problem will often be marked with tape. One piece of tape means you place one hand on the hold, two pieces of tape indicate you have to match the hold with both hands.
To correctly start the boulder problem, both your hands and feet should be lifted from the mats. Sometimes, the footholds will be marked but this is rarely the case. If they are left unmarked, you can place your feet wherever you want.
To correctly finish the boulder problem, both hands should be matching on the final hold and your body should be in a controlled position.
Learn more: how to start and finish a boulder problem
How Much of the Bouldering Wall can you Touch?
While you are climbing, you are allowed to touch only the hand and footholds that are designated for your problem. Meaning you can only touch the holds that match the color of your boulder problem. Grabbing or standing on a different-colored hold is considered cheating.
You are allowed to touch the wall itself as well as any corner of the wall. Using the top part of the wall is considered cheating unless the gym requires you to finish using the top of the wall.
Additionally, you are allowed to touch any volume placed on the wall. Volumes can be smeared on but it can also be helpful to grab or push off them.
Continue reading: How much of the bouldering wall can you use
How to Get Down from a Boulder Problem
Jumping down from the top of a boulder problem is not advised as this puts a lot of unnecessary strain on the knees. Instead, you should down climb as much as possible before making a controlled jump.
When down climbing, you can use any holds on the wall. The best thing you can do is identify the easiest problem on the wall and use their holds to get down safely.
Some indoor gyms also have ladders or staircases to descend from.
How to properly fall Down
Sometimes you just won’t have good down-climbing holds and you have to jump down. Or you overestimated and you fall down. Falling happens all the time, so it’s important that you know how to do it well.
To safely fall (or jump down), you want to fall on your feet with knees bent (squat position) and engage the Tuck and Roll technique.
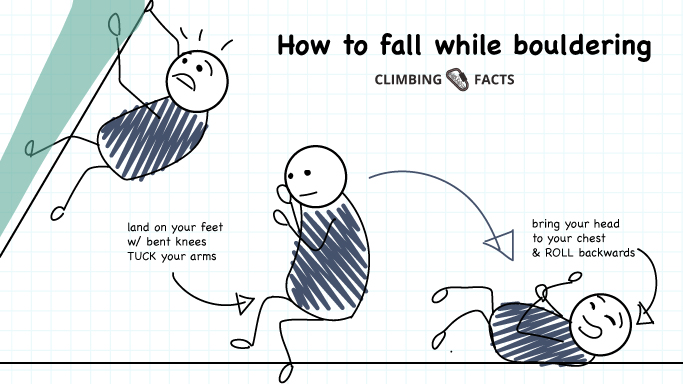
The Tuck & Roll technique implies that you TUCK your arms as you jump down and ROLL backward to break the fall.
Tucking your arms prevents you from landing on and potentially breaking your arms and rolling over takes pressure away from the knees.
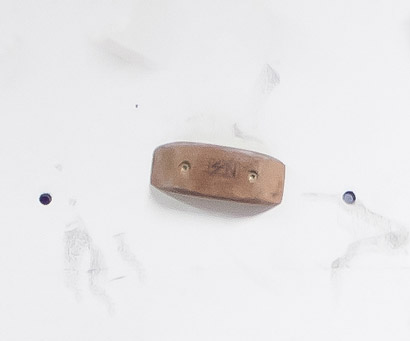
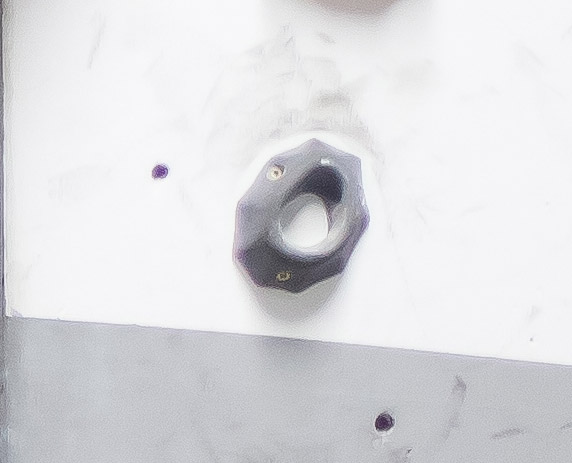
The different types of holds
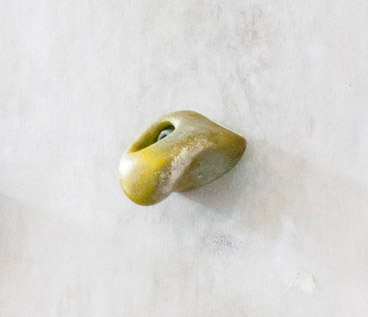
Bouldering gyms have many different types of handholds in many different shapes and sizes. In total, there are 6 types of handholds, each with distinctive features.
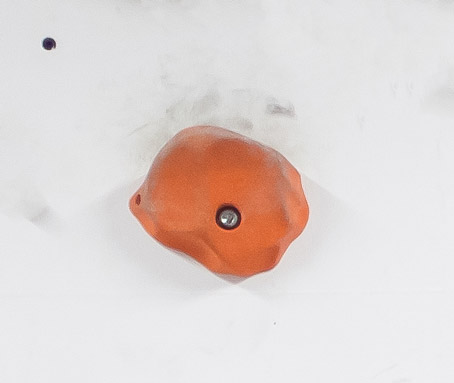
Jug
Undercling
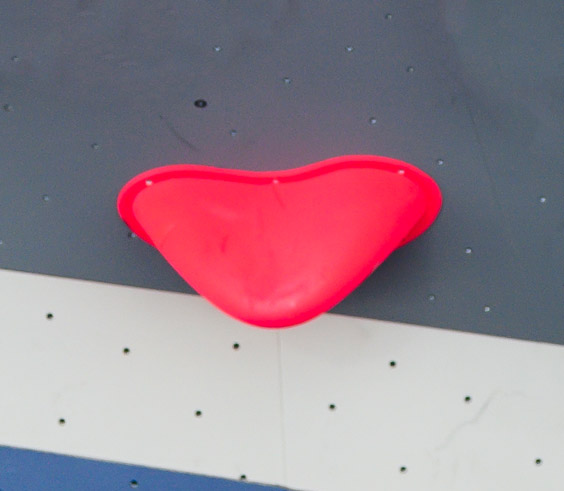
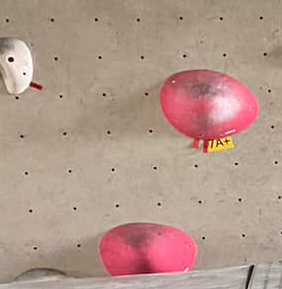
Sloper

Crimp
Pinch
Volumes
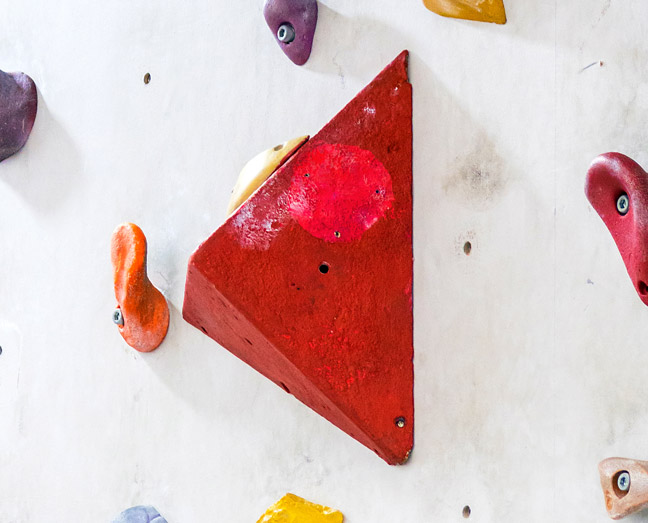
Volumes are the MVPs of the bouldering wall. These big, geometric, wooden structures can change the dynamic of the wall and offer a lot of creativity to route setters.
P.S. Volumes are also a short boulderer’s best friend!
Volumes sometimes have holds on them, if they match your color, you can use them. You can also use the volume itself. You can smear on them, grab them and pull towards or push off them.
More about How to use Volumes on Bouldering Walls
How are Boulders Graded Indoors?
Bouldering gyms use a difficulty-based grading system to accommodate different skill levels.
Most climbing gyms use the same grading scale that is used outdoors. Which grading scale, will depend on the region the gym is located in. European gyms use the Font Scale and North American gyms use the V-scale.
- V-scale – the V-scale starts with V0 (sometimes VB) and counts upwards to V17
- Font-scale – the Font scale starts at 4 and counts upwards. Starting at 6, letters from A to C are assigned to differentiate between difficulty (e.g. 6B is harder than 6A), additionally ‘+’ is used to signify a smaller bump in difficulty (e.g. 6B+ is harder than 6B but easier than 6C)
Below is a conversion scale between Font and V-scale.
For more info on conversions, check out our Bouldering Grades Conversion Guide.
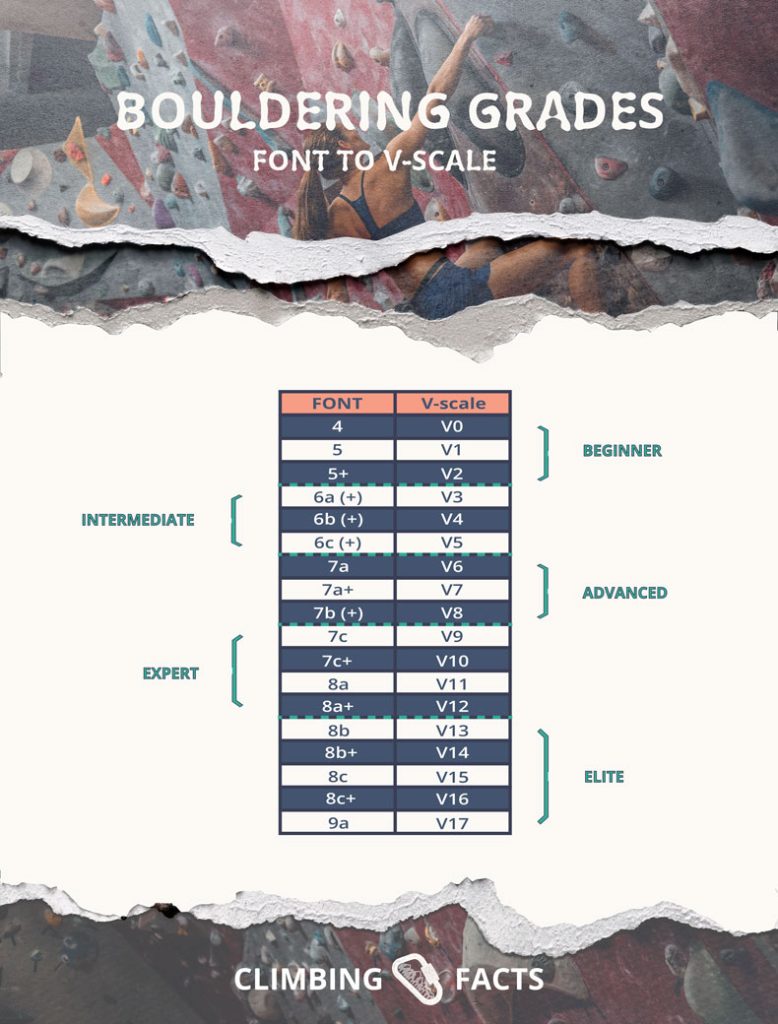
Some bouldering gyms have their own internal grading system. This is often common in commercial bouldering gyms (e.g. Blochaus in Australia).
Preparing your first visit to a Bouldering Gym
Getting ready for your first time indoor bouldering? Here’s everything you need to know to make your first visit a successful one!
What to Wear to the Bouldering Gym
You should make sure you wear something comfortable to the bouldering gym. This can be the same outfit you wear to the gym, or simply a breathable t-shirt and a pair of loose shorts/pants.
Make sure to avoid jeans, chinos and any skinny-fit pants that will limit your movement. Similarly, avoid tight-fitting t-shirts and non-breathable materials.
Take off any jewelry such as rings, bracelets, or watches while climbing. These can get damaged or they can seriously hurt you when caught on a hold.
Some examples of good bouldering wear:
- Leggings
- Loose sweatpants
- Gym shorts
- Tank top
- Breathable t-shirt
- Camisole
- Sport bra
- Climbing shirtless (if allowed)

👉 For more in-depth information, read our article on what to wear to indoor bouldering gym.
Gear you need for Indoor Bouldering
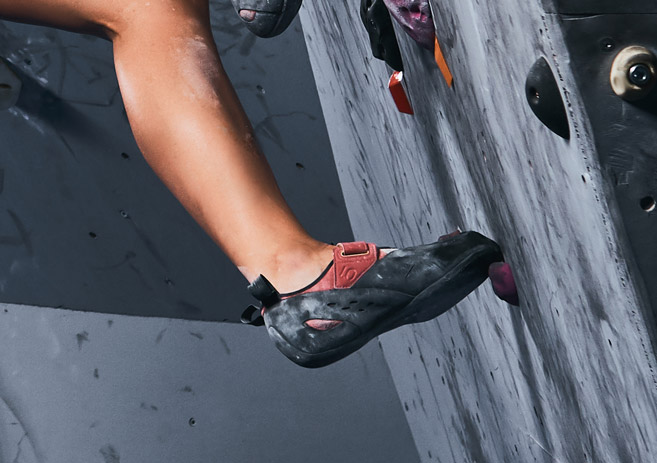
The beauty of indoor bouldering is that you don’t need a lot of gear. All you need is a pair of climbing shoes and some chalk.
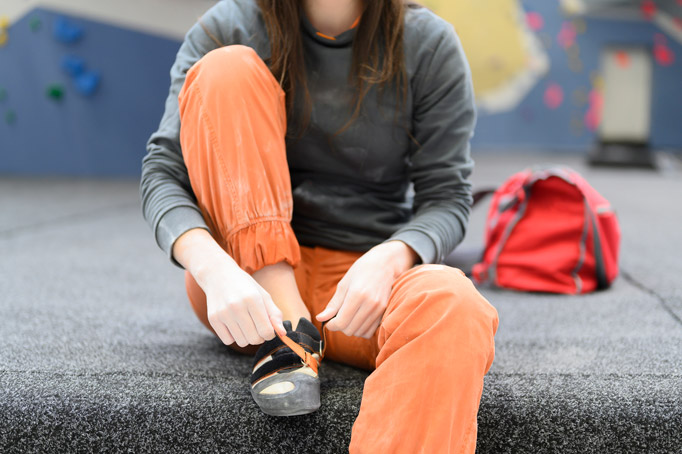
Climbing shoes
If you don’t own a pair of climbing shoes yet, you can rent these at the boulder gym. Rental shoes are usually between $3 – $5.
When sizing rental shoes, you should go for your street shoe size.
While wearing socks is not recommended inside climbing shoes, you should definitely wear them inside rental shoes. You don’t want your bare feet inside shoes that have seen hundreds of others!
Later in this article, we have some tips for buying your first pair of bouldering shoes but you really don’t need these for your first visit.
Climbing Chalk
Climbers use chalk to prevent sweaty hands and get a good grip while they are climbing. While you can definitely climb without using chalk (I did so on my first bouldering session), it does help a lot. Chalk will make you feel more confident and ensure you don’t fall because of sweaty hands.
There are three types of chalk that are used at the gym: liquid chalk, chalk balls, and powder chalk.
We advise you that you don’t buy chalk before going to the bouldering gym. Every bouldering gym has its own rules and they might not allow a specific type of chalk. (e.g. Powder chalk is often banned at indoor gyms).
You can buy your chalk at the bouldering gym. This way you support a local business and you ensure that you don’t break any rules.
We recommend Liquid Chalk for beginners.
Bouldering Gym Rules
Every bouldering gym has their own set of rules that you should abide for your safety and the safety of other climbers.
- Don’t stand underneath a climber – climbers fall all the time, you don’t want to become a human crashpad.
- Look above you while navigating the gym – someone might be climbing above you!
- Stay at least 4 feet apart – If you hop on the wall, make sure you can stay at least 4 feet apart from other climbers. Additionally, you should identify their finish hold before hopping on to avoid a potential collision.
- Don’t go to the bathroom in climbing shoes – bathroom floors are dirty, don’t spread those germs on the holds!
- Don’t let your kids run around on the mats – bringing kids is fine but they can become serious safety hazards when they run around on the mats. A falling climber could crush your child.
- Keep food and drinks of the mats – we don’t want crumbs or drink spills on our precious landing pads.

Bouldering Gym Etiquette
Aside from the rules, there is also some etiquette to follow while at the bouldering gym. Below are some of the biggest faux pas at an indoor bouldering wall.
- Remember to take turns – everyone paid to be there, so share those walls. Don’t immediately hop back on the wall after sending a problem, someone might be waiting behind you. Similarly, don’t hog a single part of the wall just because you are working on a project.
- Don’t sit underneath the boulder problems – resting is fine but stay away from the boulder problems. You are forcing other climbers to confront you, not cool.
- Don’t go on a freshly brushed wall – climbers will often clean additional chalk from holds using a brush. This means they are preparing to attempt that problem, don’t be the moocher that hops on the freshly brushed holds before they got a chance to do it themselves.
- Don’t give unsolicited advice – this is called ‘spraying beta’ and is considered a faux-pass. Ask if you can give a piece of advice before doing so.
- Keep your grunts to a minimum – no one likes a climber that is disrupting the peace.
- Tape up if you start bleeding – we don’t want your blood on the holds. You can ask the staff for tape if you don’t have your own.
- Keep your belongings away from the mats – a water bottle, brush or phone can cause someone to get unnecessarily hurt if they fall on top of it.
Learn more about Bouldering Rules & Etiquette
Commonly used Terms at Bouldering Gyms
As a first-timer, it will help to know some of the common climbing terms.
- Send – Successfully finishing a boulder problem. Example usages: ‘nice send, dude’ to congratulate someone or: ‘I sent that blue one over there’ to refer to a particular route.
- Beta – Refers to the best approach to climb a boulder problem. You can help someone send a climb by giving them beta. Some problems have multiple betas for example a beta for short people and a beta for tall people. Example usage: ‘do you want the beta?’
- Spraying Beta – Refers to the act of giving unsolicited beta to another climber. Some climbers take pride in figuring out the beta themselves so you don’t want to ruin this for them by spraying beta. Example of spraying beta: yelling ‘You have to smear on the volume on your right’ at a stranger.
- An onsight – An onsight is when you successfully finish a boulder problem without any prior knowledge or beta. The term onsight is not that common in bouldering gyms though, most boulderers use ‘flash’ instead.
- A flash – A flash is when you successfully finish a boulder problem on your first try with the help of beta from another climber. Example: “I flashed that blue V3 over there”. Being able to flash problems is a great indication that you have mastered a certain bouldering grade range.
- Sandbag – A sandbag is a term used to refer to a climb that is graded too soft. For example, a V2 boulder problem that feels more like a V3 is a sandbagged boulder problem.
- Project – A boulder problem that you see as your current goal for the day or week.
- Smearing – Smearing refers to placing your foot on the bouldering wall instead of a foothold. This can be used as a last resort when there is no proper foothold to push from.
- Cut feet – This is when your feet cut away from the wall. Cutting feet often happens during an overhang when the climber loses control over their feet.
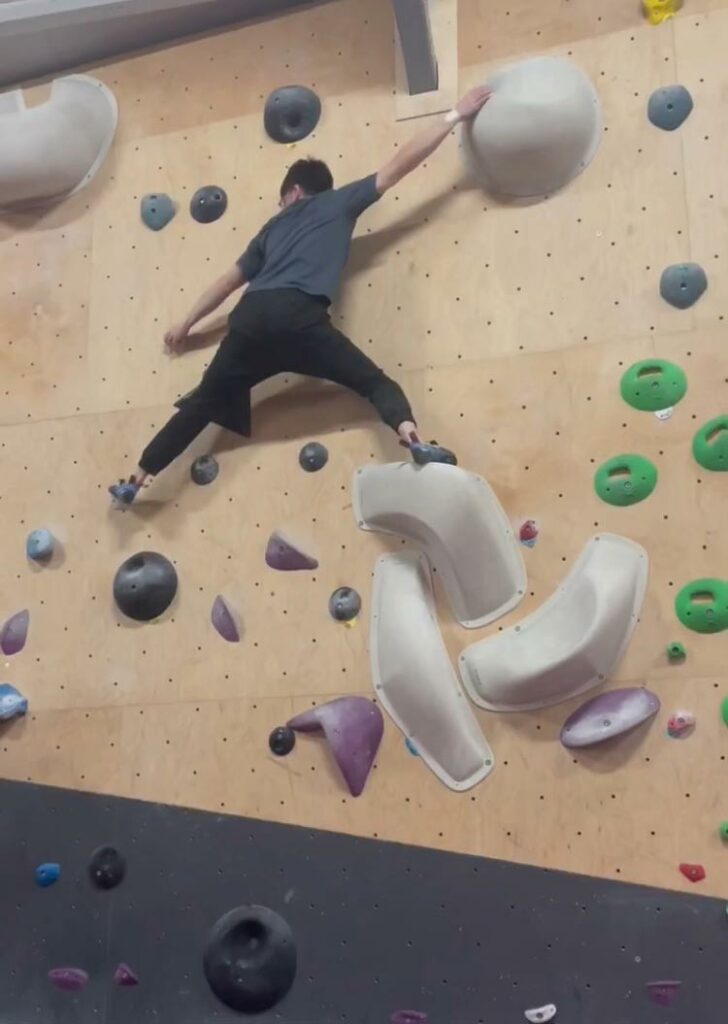
- Barndoor – Imagine your body swinging away from the wall, this is called a barndoor.
- Dyno – A dynamic movement in bouldering.
Congrats! Now you can talk like a pro!
9 Tips for Bouldering Indoors
1. Always warm-up beforehand
Many beginners make the mistake of hopping on the wall as soon as they get inside their rental shoes. This is a bad idea as your body isn’t warm yet, and could potentially lead to injuries.
Warming up for bouldering doesn’t just entail doing some quick stretches on a warm-up. You should also warm up on the wall! A warm-up climb could be any climb that is below your current climbing level. Doing warm-up climbs for the first 20 minutes of your session is great for warming up your body before going over to your project.
👉 Continue reading: how to warm up for indoor bouldering
2. Watch other climbers
One of the best ways to learn climbing is to pay attention to others. That’s why indoor bouldering gyms are a great place for learning even when you aren’t climbing! Don’t be afraid to study other climbers, even if they are doing grades way beyond your imagination.
Watch their footwork, pay attention to how they use volumes to their advantage, and notice how they keep their arms extended to avoid exhaustion. There is so much you can learn simply by watching. Before you know it, you will be copying their techniques on the wall yourself!
👉 Continue reading: Complete Guide to Bouldering Technique
3. Use your feet
Your first instinct will be to use your arms to reach holds and your legs will become pretty much an afterthought. This is normal, everyone climbs like this at first. However, you should know that this is the wrong way to climb. Your footwork is just as important, if not more important than your hands when climbing.
When you feet become an afterthought, you are not only exhausting yourself for no reason, but you will also run into reaching issues. For example, you might not be able to reach the next handhold because you forgot to move your feet.
Climbers don’t see their feet as mere tools for support but as extra hands. So instead of pulling yourself up and climbing hands first, focus on your feet. Start climbing feet first and focus on the footholds.
4. Edge on footholds
One common mistake beginners make is that they stand on footholds with middle of their feet. This is terrible technique as it limits your mobility as well as prevents you from getting a good grip (not to mention how it will become impossible to do on harder problems).
Instead, you should edge on a foothold with the tip of your feet. Not only will thise provide a much better grip, you will also be able to rotate your hips to climb much more efficiently.
5. Straight arm hang
While watching other climbers, you’ll notice that their arms are always extended. This is called the straight arm hang and it is the most efficient way to climb. Climbing with bend arms (this is called T-Rexing) is painful and can result in being unable to finish the problem due to exhaustion.
Avoid bending your arms and instead keep them straight as much as possible.
When utilizing the straight arm hang you are essentially forcing your body to use your feet first instead of relying on your arms. This is more energy-efficient and thus the best way to climb boulder problems.
6. Take it slow
Climbing is fun and highly addictive but you should make sure you aren’t pushing your body too far. Your body is not used to the many different muscles and tendons that are used while bouldering. If you don’t allow time for recovery, you can get injured. The last thing you want is to have an injury during your first couple of months.
You shouldn’t climb more than 2 – 3 times per week and never climb two days in a row to allow for enough rest in between sessions.
7. Don’t focus on just one type of climb
There are many different types of climbs inside bouldering gyms. A common beginner mistake is that they only focus on one type of climb. For example, many beginners climb mostly slabs and vertical walls and avoid overhangs.
To progress as a climber, you should diversify your climbs and try boulder problems regardless of the climb. If you don’t like overhangs, try to go for lower grades but don’t ignore them completely.
8. Don’t think about the grades
While progressing is fun, actively chasing grades ruins the fun out of bouldering. As a beginner, you are likely going to be sticking to the easy grades for a while. This is okay. Even if you have the strength to force yourself through some grades, you won’t have the footwork or route-reading skills to progress.
9. Accept that people are going to watch
There really isn’t much to do at a bouldering gym other than climbing. So while climbers are waiting or resting, they are likely going to watch you. This can be intimidating, especially if you are new and you know you don’t look great out there. But you shouldn’t let it stop you from hopping on the wall.
You can only improve by climbing! Bouldering gyms are often busy so if you are going to wait until no one is watching, you aren’t going to get your money’s worth and you aren’t going to have a good session.
So accept that people are going to watch you on the wall. This might cause some anxiety, but you have to put yourself past it to progress as a climber.
Your first pair of Bouldering Shoes
Once you have a couple of bouldering sessions behind you, it is high time to get your first pair of bouldering shoes. After all, those $3 – $5 extra per session are counting up, so you are much better off buying a cheap pair of beginner shoes.
Budget option: La Sportiva Tarantula
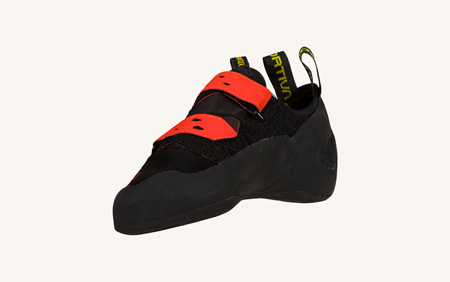
The La Sportiva Tarantula is an excellent beginner climbing shoe that works well within all climbing styles.
This climbing shoe has a stiff 4mm FriXxion rubber outsole that is great for edging on small footholds.
The Tarantula is cheap, durable, and often on sale.
Best for Bouldering: Scarpa Veloce
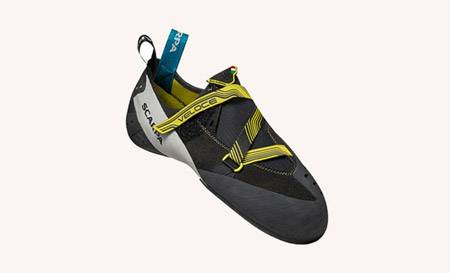
The Scarpa Veloce is a beginner climbing shoe that is specifically designed for indoor bouldering.
If you are looking for an indoor bouldering-specific climbing shoe, this is one of the best at the job.
This climbing shoe is slightly downturned and has a soft S-72 rubber outsole making it perfect for smearing on large volumes at the bouldering wall.
Veloces are expensive (for beginner shoes) and less durable.
How to Size your First Pair of Bouldering Shoes
You may have heard that you should downsize a climbing shoe to get a tight fit. It’s true, sizing down climbing shoes does add to the performance. However, this performance boost isn’t necessary at the beginner level.
Tight climbing shoes hurt, this is why boulderers are often take off their shoes after each boulder problem.
But this pain isn’t going to give you any extra advantages at the beginner level. Worst case, it might deter you from going to the bouldering gym at all.
Your first pair of bouldering shoes should be a comfortable fit. In most cases, this will be relatively close to your street shoe size. You should also factor in whether or not you will wear socks in your climbing shoes. Doing so is not advised, but if you do, you might have to size up in some brands.
Keep in mind though that climbing shoes stretch a little depending on the material that is used. Vegan climbing shoes made from a synthetic upper will stretch about 0.5 sizes while leather climbing shoes stretch up to a whole size.
For a sizing chart of the different climbing brands and other info, check out this article on how to size your climbing shoes.
When is it Time to go Outdoor Bouldering?
We recommend that you wait at least 6 months before going outdoor bouldering for the first time. This is because bouldering outdoors is much harder than bouldering indoors.
Outdoor boulders aren’t nearly as straightforward as indoor ones, there are no colored holds to follow! On top of that, they take a lot of skin. So before your first visit, you should make sure your hands have roughened up a bit.
Bouldering outdoors is also not as accessible as indoor bouldering. You need a crash pad (which are expensive) and you need at least one spotter with you.
And finally, outdoor boulders grades are different from indoor boulder grades. Most climbing gyms are grading extremely soft to promote progression. Because of this, indoor and outdoor boulder grades can differ by up to two whole grades.
So if you are climbing V5 in the gym, you will likely only be able to do V2 – V3 outdoor.
👉 Eager for more? Read our full Bouldering Beginners Guide.
Continue reading
More articles on Climbingfacts
- Indoor Bouldering Basics: intro to gym climbing
- Tips for short climbers
- Complete Guide to Bouldering Grades (& conversions)
- How to start and finish a boulder problem
- Can I get abs from climbing?
- Bouldering vs rock climbing
- How often you should go bouldering per week
- Why bouldering is a good full-body workout
- Climbing 101: what is cutting feet?
- How long does it take to progress in bouldering?
- How much does it cost to start bouldering?
- What to wear indoor bouldering
- How much of a bouldering wall can you use?
- Should climbing shoes hurt?
- How many climbing shoes do you really need?
- Yoga for climbers
- Core workout for climbers